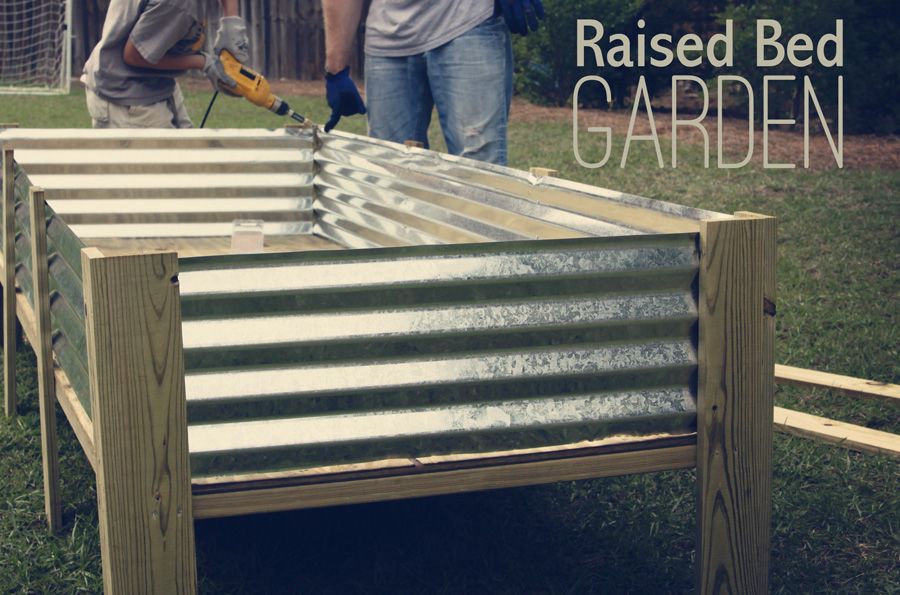
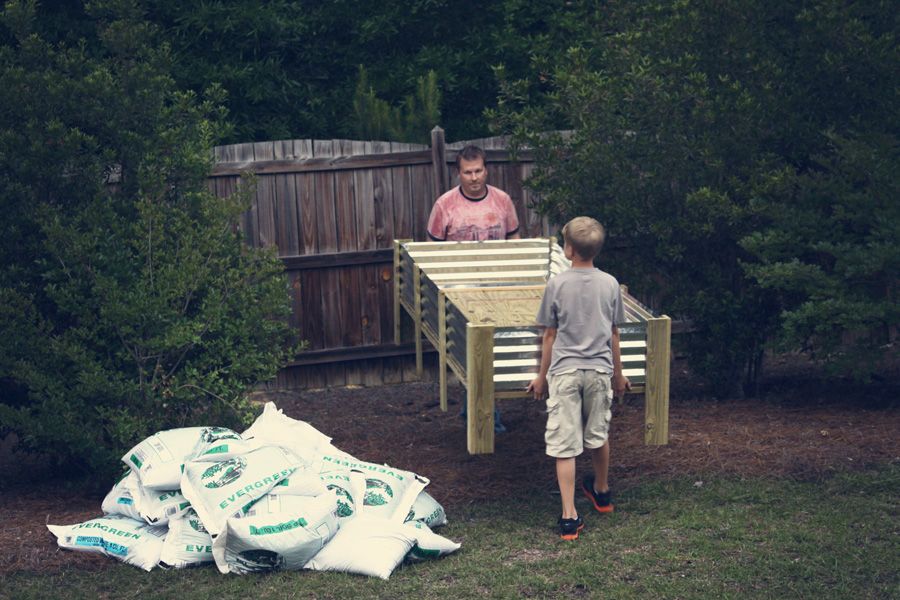
Last year hubs and Little Man kicked off the warm spring days by constructing a raised bed garden. It was fun to see them working together for a common goal.
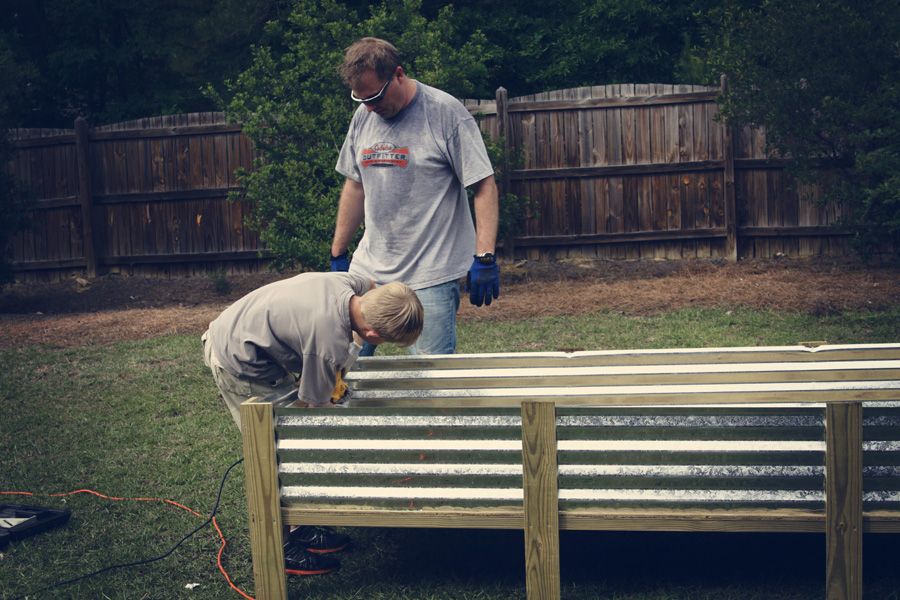
It took several afternoons to see it through, but in the end it was beautiful. We celebrated by hitting the nursery and picking out some favorite vegetables and seeds to plant.
Tin Roofing (Corrugated Metal)
1x4 Treated Wood
Marine Plywood
Landscape Fabric
Composted Manure
Drill & Saw/ Screws
They cut their 1x4s to the same length, framed and assembled the floor (made of marine plywood) and then screwed it all together with the sheet metal on the outside. They drilled drain holes in the marine plywood and covered them with the landscape fabric. Once they had moved the bed to the permanent location they filled it with enough composted manure to come just below the top.
In retrospect, I wish I had taken better step by step photos. I never intended to share this project, but as we went out to prepare the garden last week for the second consecutive year I realized just how special it was.
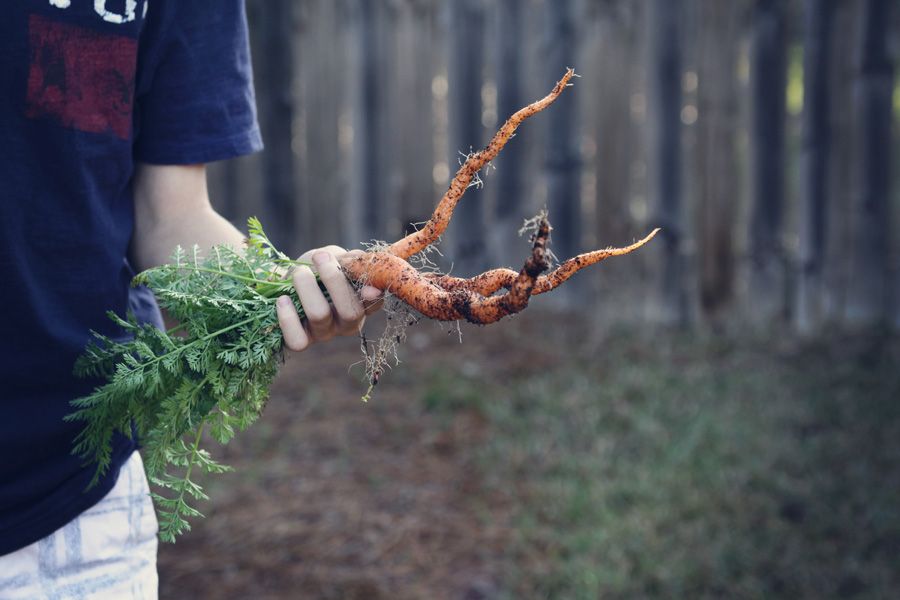
We began by pulling up any debris or weeds. And to our surprise we found these ginormous, gnarled carrots that were practically the depth of our garden bed. Being recent transplants to South Carolina we were shocked to find that they had grown through the winter. Certainly a fun surprise for us Midwest folk.
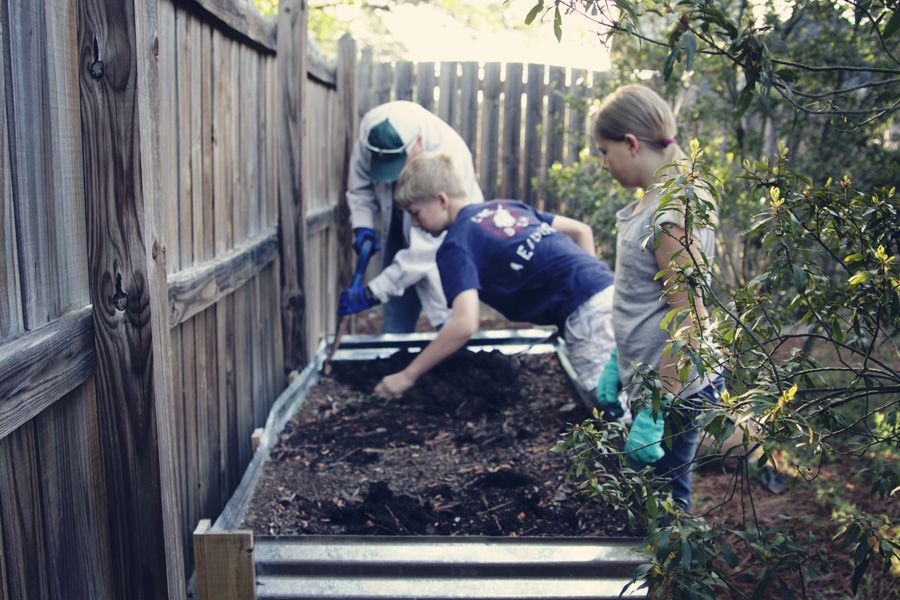
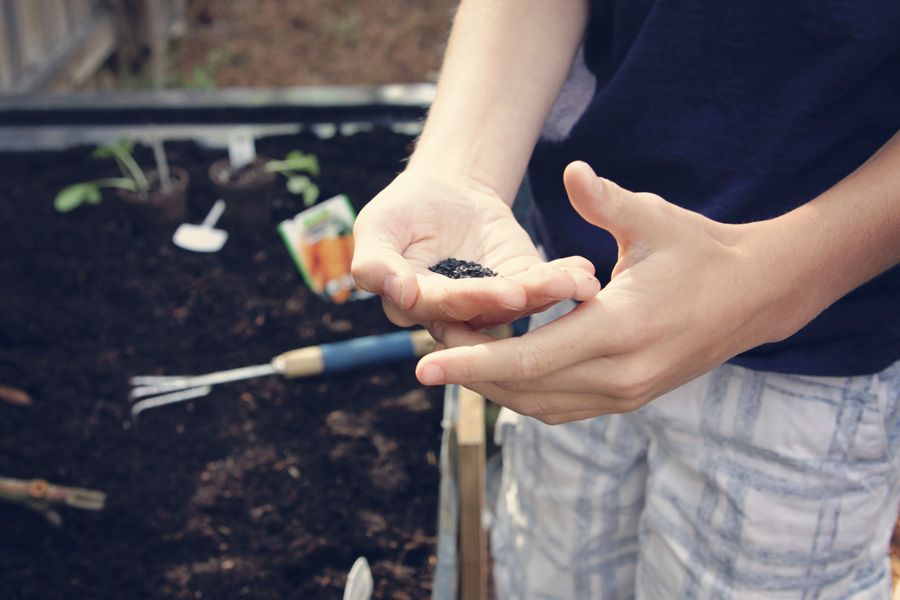
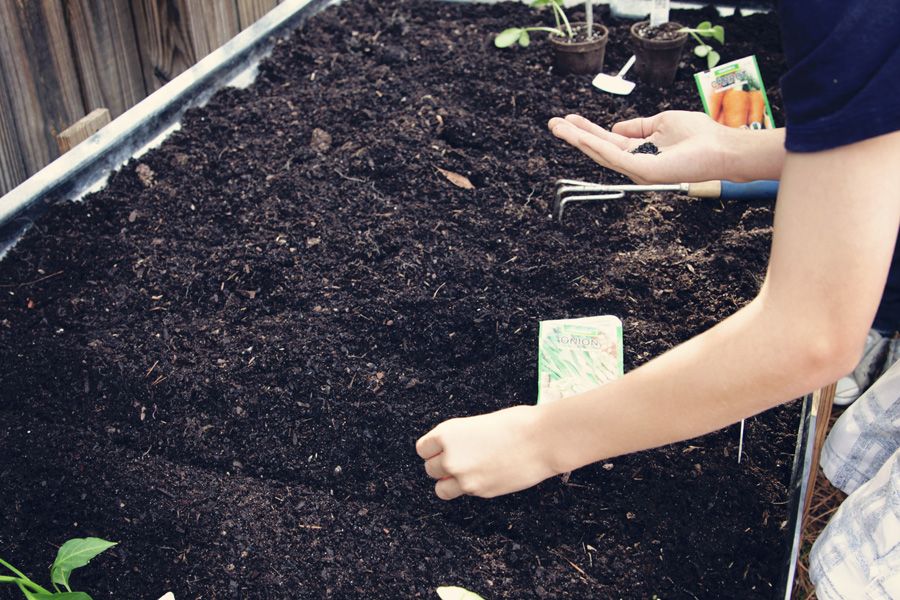
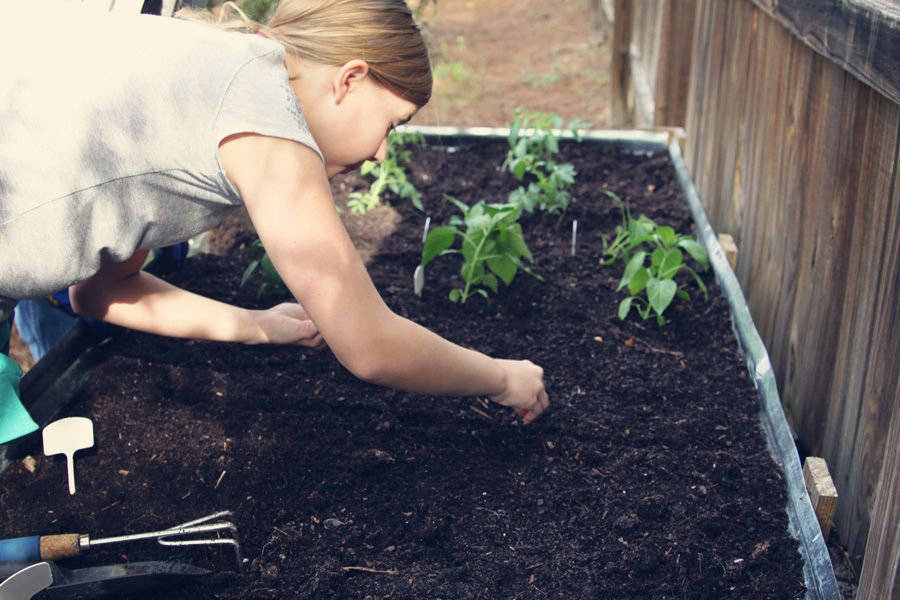
The kids were a huge part of the process, from beginning to end- both the planning and the planting!
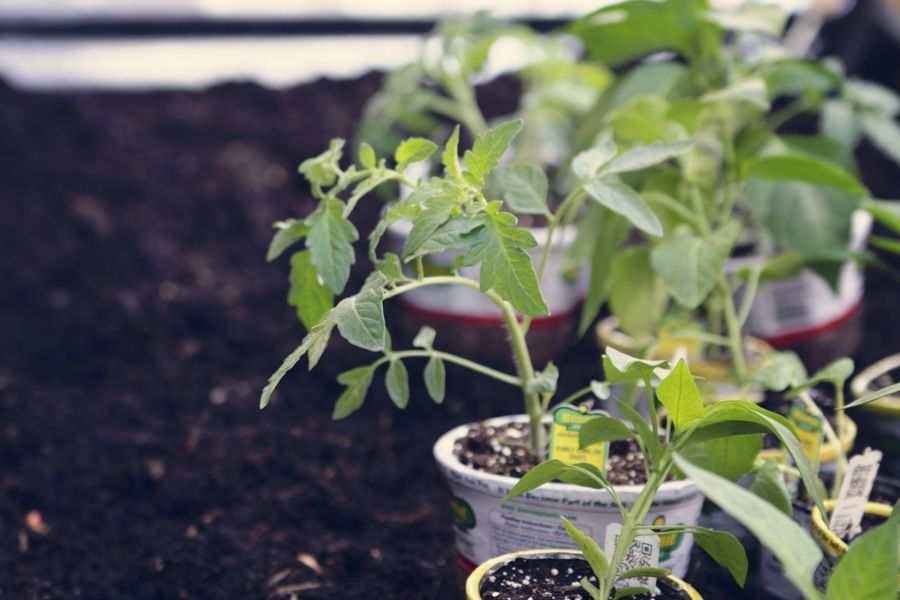
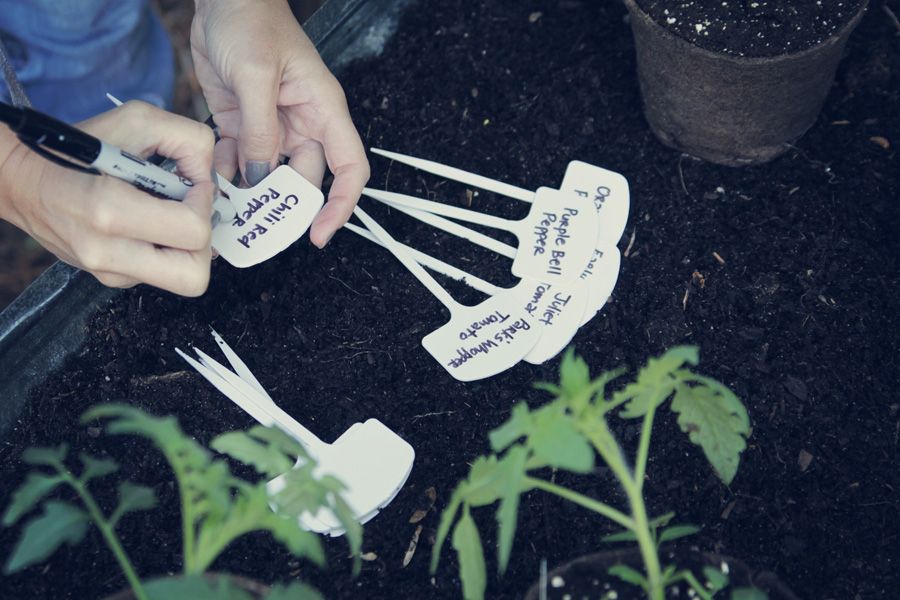
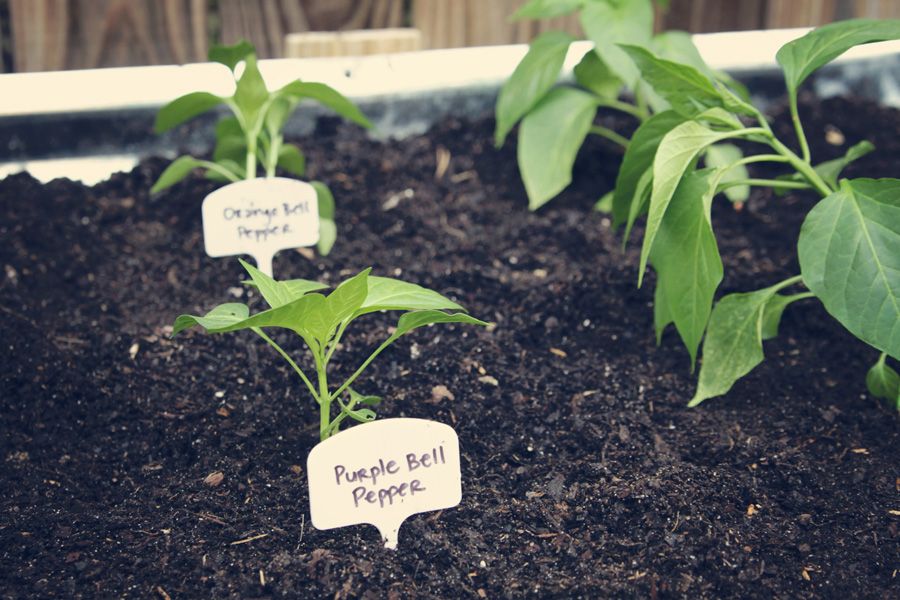
Little Man picked out his favorite kinds of tomatoes and peppers and made sure we didn't deviate from his plans.
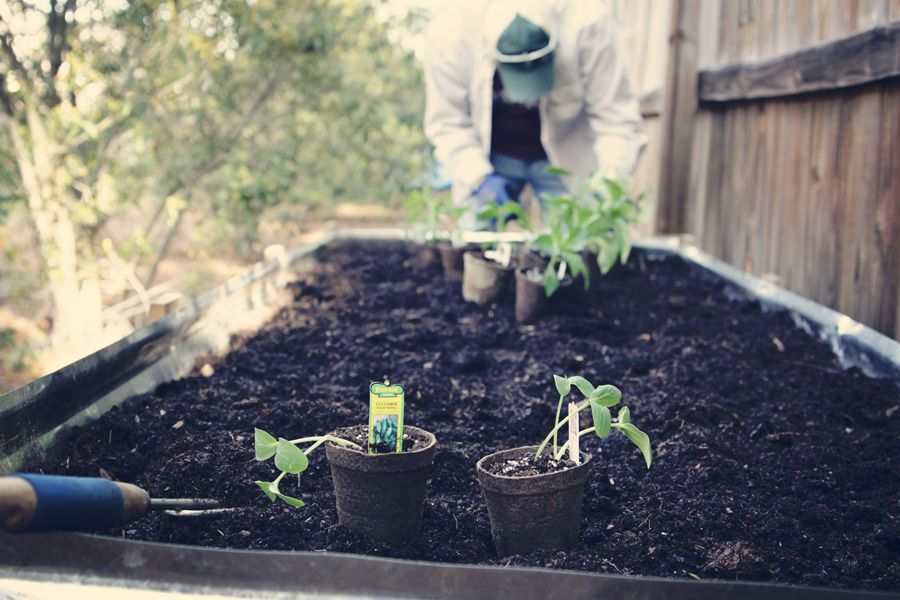

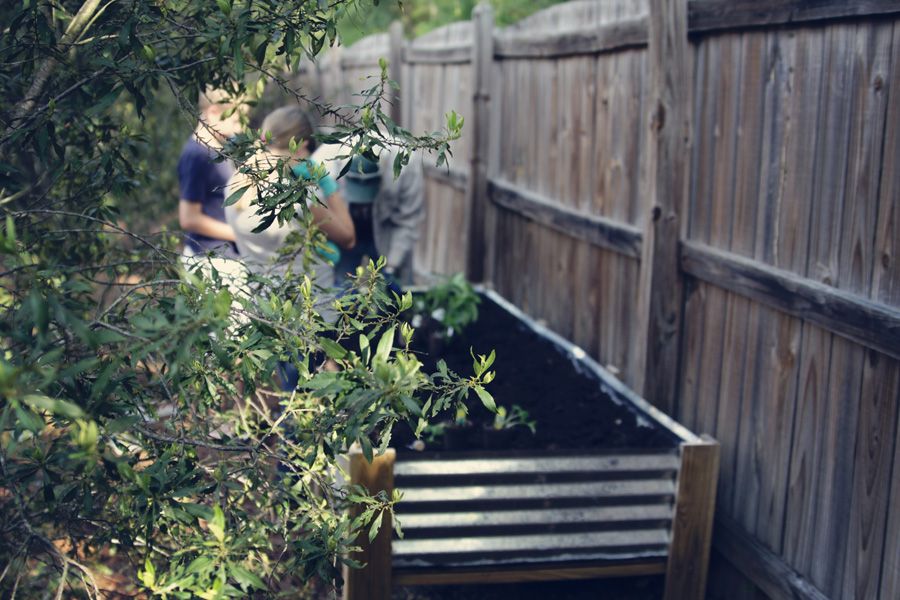


In retrospect, I wish I had taken better step by step photos. I never intended to share this project, but as we went out to prepare the garden last week for the second consecutive year I realized just how special it was.

We began by pulling up any debris or weeds. And to our surprise we found these ginormous, gnarled carrots that were practically the depth of our garden bed. Being recent transplants to South Carolina we were shocked to find that they had grown through the winter. Certainly a fun surprise for us Midwest folk.

The kids were a huge part of the process, from beginning to end- both the planning and the planting!


Little Man picked out his favorite kinds of tomatoes and peppers and made sure we didn't deviate from his plans.


I'm so happy that my children are both nature lovers. I may not love their critter surprises so much, but they can plant a garden any day. We're all looking forward to reaping the harvest in the coming months!
*I highly recommend the raised bed gardening if you have adequate light. It's easy maintenance and perfect for small spaces. You can see some of our tomatoes from last year here.
I'm cohosting the Nurture Photography Challenge with Kristi of Live and love out Loud and Rebecca of Bumbles and Light. This week's prompts are Green/Nature in Honor of Earth Day. See what other things I've been doing in honor of Earth Day and share your Green/Nature Photos through Thursday, April 25th. You can learn more about the Spring Challenge, as well as upcoming prompts, here.
That's all for now. Thanks so much for stopping by! In case you're new here- welcome!
-------------------------------------
This is Wordless Wednesday, but as you can see, I have a hard time keeping it wordless. Wordful or Not So Wordless posts are always welcome here at Project Alicia. You can grab my button in the sidebar but it is not required to participate. Just grab any photo and come link up! And if you'd like to connect with other WW participants, click HERE or one of the thumbnails below.


We tried (unsuccessfully) to have small raised beds last year. I really like the set up of the beds y'all used!
ReplyDeleteWhat a great garden! It really is nice that your garden is a family project. I am really getting anxious for warmer weather so I can get out and clean my garden off.
ReplyDeleteHow very cool!! We have two raised beds which just don't seem to flourish, perhaps one of these might. Hmmmm
ReplyDeleteHappy WW, loved the series!
That is so awesome! I love the set up you did. I hope to do this once we get settled somewhere.
ReplyDeleteWhat a fantastic project! I really need to find the time to do something similar with my girls.
ReplyDeleteLooks great Alicia, I bet the veggies will be delicious!
ReplyDeleteLOVE the idea of using roofing for the sides.
ReplyDeleteFantastic! We have just planted some veges in our garden vege patch. And rhubarb will be going in soon too. There is nothing more fantastic then home grown veges.
ReplyDeleteHow nice. I've been dreaming about raised beds. I hope your garden produce a lot. :-)
ReplyDeleteI so want a raised bed garden. I might talk my husband into it this year!
ReplyDeleteI love the idea of a raised bed garden...seems so much cleaner and easier to reach :)
ReplyDeleteThis is fabulous! I have a regular in-ground vegetable garden but I love the idea of a raised-bed one! Saves room in the yard and I can still have yummy vegetables! Love it!
ReplyDeleteLooks awesome, can't wait until it's nice enough here to do that!
ReplyDeleteTammi
http://www.myorganizedchaos.net/2013/04/vegas-skyline-by-day-by-night
This is a great family project idea. I will have to share it with my hubs. Thank you for hosting.
ReplyDeleteAwesome family project!
ReplyDeleteWe've built a garden bed but have WAY too much shade to make it worthwhile.
ReplyDeleteWell done! You're miles ahead of me on the garden. I promised myself if I moved back home we'd have a veggie garden in our backyard, thanks for the motivation, inspiration, now I just need to of the editing couch this weekend and give it a try.
ReplyDeleteWhao... can't wait to see how the plants turn out :) Happy WW
ReplyDeleteI'll keep this post in mind for next year! L is in 4-H and learning about planting, but I hope to have our own bigger production next year. Have you tried hay bale gardening?
ReplyDeleteNo, we have never tried the hale bale gardening, Dagmar. We actually are just renting and the yard is pretty small, so we opted for a small raised bed.
ReplyDeleteHa! Good luck getting through all of the editing. That's quite an undertaking. ;)
ReplyDeleteYeah, you do need a considerable amount of light to make it worth the effort.
ReplyDeleteIt really does save space. We actually have a small yard and by doing the raised bed the kids are still able to kick balls and what not.
ReplyDeleteYes to both. Hardly any maintenance and the clean up from last year took just minutes. And this would be great for older individuals or those with back issues. ;)
ReplyDeleteAgreed! We have yet to plant rhubarb but hub's parent always make strawberry-rhubarb pie.
ReplyDeleteThe corrugated metal certainly makes it more attractive. I think it would be fun in an aged metal as well.
ReplyDeleteThanks Rebecca! We had quite a few tomatoes last year, so I'm anxious to see what we get from this planting. :)
ReplyDeleteSorry it didn't work out, Christine. What made it unsuccessful?
ReplyDeleteOooooo... I have garden envy!!! ;)
ReplyDeleteLooks like a great family project! Lovely pics as always, Alicia!
ReplyDeleteThis is super neat!! I've always wanted to do something like this but it always starts around the time we move.
ReplyDeleteBeautiful photos. They tell such a wonderful story!
ReplyDeleteHmmm, I did post a comment earlier today but for whatever reason doesn't show (I am certain it's user error)! :) Love the idea, we have two raised veggie beds that just don't seem to work for us at all, sigh. Perhaps next year we will try this idea, thanks for posting. :D
ReplyDeleteNice! I need to look into a raised bed for my apartment's patio/balcony.
ReplyDeleteLooks great! :)
ReplyDeleteThis is the first year that's daughter has taken an interest in helping her Daddy in the garden and it's so lovely to see. x
ReplyDeleteWhat a great idea! My yard doesn't get a lot of light and my neighbor has wanted to make a garden for a long time!
ReplyDeleteI love gardening with the kids!! Cant wait to see photos of your stuff when it is all growing x
ReplyDeleteVery cool! I need to do something about our yard for sure!
ReplyDeleteI'm not exactly sure, but I'm leaning towards not tall enough beds. We just threw some boards together and didn't really give it the effort it needed. I showed my hubs and father the beds you guys made and they were excited about giving them a try. So fingers crossed! =)
ReplyDeleteWhat an awesome idea and a great family project! I'll have to show this to my husband ;)
ReplyDeleteHope you are having a great day!
Awesome project, and you are a great photographer! I hope you'll come link up: http://www.potatochipcats.com/2013/04/wordless-wednesday-belize-with-linky.html
ReplyDeleteAwesome family project!
ReplyDeleteVery cool Lish- I have been itching to find our final landing spot so I can get a garden going. Really wanting to grow my own food.
ReplyDeleteI'm waiting to hit up the hardware store to get the lumber for ours but I LOVE the idea of using the siding for it! Beautiful.
ReplyDeleteVery pretty!
ReplyDeleteSuch gorgeous and detailed photos. I love the idea of a raised garden.
ReplyDeleteThat is one of best you can do for you family. I'm so proud of you!!
ReplyDeleteThose are so cool - we need to put in some raised garden beds since the wild rabbits tend to think our garden is their own personal smorgasbord. ;)
ReplyDeleteSigns of Spring... At Last!
I love the raised beds! I like gardening, but my dogs always get into ground level beds. Great photos, too!
ReplyDeletei just love gardening! since we built our home, i haven't really had a proper garden. i plant tomatoes and cucumbers in a small plot out back. this year i am lucky to use the neighbor's garden, but told my husband i would love one or two of these raised bed gardens for next year. they are exactly what I'm looking for!
ReplyDeleteDon't see why not! Great idea! :)
ReplyDeleteThanks for joining me in the Wordless Wednesday Bloggers. And remember, while silence
ReplyDeletemay be golden on WWB, the weekend was made to be enjoyed :-)
Jennifer
thejennyevolution.com
i want a garden. just not sure if it would work for me or not...
ReplyDeleteI use buckets for my garden, but this looks like it would work better. Good post.
ReplyDeleteI CAN NOT THANK YOU And your husband enough for his wonderful plan. Ironically, I am a South Carolinian too. I can no longer garden, even in regular raised bed gardens due to M.S. and arthritis and I am thrilled to pieces to see this economical way for me to once again putter with my plants. Now I know that even in a wheelchair I can garden! You have given me great hope again. Thank you many times over.
ReplyDeletedo you have a pattern or measurements that you used so we can do one too? I have back issues this would be great!
ReplyDeleteHow did this hold up? Did it bend or warp over the winter? It's really beautiful but I'm not sure it would hold up to our Wisconsin winter.
ReplyDeleteIm wondering if the plywood would rot in a few year and collapse.
ReplyDeleteI was wondering the same thing. We live in Maryland and this past winter was especially harsh. I wonder if they could be disassembled and brought inside, or at least covered well through the winter? They are really nice looking!
ReplyDeleteI would put the hardware cloth on the bottom instead of the wood and lay black fabric down on top of that.
ReplyDelete