---------------------------------------------------------------------------------------------------
Can you imagine a world without any visual imagery? The internet with only text? A magazine article minus pictures? A blog only able to lure their audience with words?
Well, I for one, can not imagine a world quite like this. I am passionate about many things, perhaps to a fault, but my passion for photography is what defines me. And my blog. If you've ever stopped by you may have noticed that I prefer to tell my stories via photos. You can check out a sampling here.
Photos convey thoughts and emotion unlike any words. Photos connect with people on an intimate level. And they have the ability to transcend beyond language barriers and international lines.
Most importantly, they are able to perfectly preserve a moment in time. Photos have a way of opening a window into your life. Whether it was yesterday or 10 years ago, a photo can trigger a flood of emotions. And senses. Taking us back to that very day.
And the best news of all is that you don't have to be a photographer to have amazing photos these days. If you like the idea of sprucing up your blog with some great visuals, but aren't sure where to start, don't despair. There are a number of ways to perk up a post no matter where you fall on the photography spectrum.
Use stock photos if you don’t take photos yourself.
There are several websites that offer photos. Stock.xchng and photobucket are two sites that offer FREE images. And they are categorized by topics. There are also sites that offer photos for a minimal fee, such as istockphoto.
Utilize photo editing tools to improve your images.
There are tons. And I mean TONS of free photo editing sites available that can turn drab photos into works of art. You don't even need to be a tech savvy person to be able to work your way around most of these programs. With the push of a button or two you can literally transform your photos into something that you can be proud to stamp your name on. Picnik, Flickr, and Photobucket to name a few. I also found a list of 20 best free photo editing websites, most of which I hadn't heard of. Just goes to show that the possibilities are endless. Most online photo storage websites are now offering photo editing in some capacity or another. You can even download a free trial version of photoshop here.
Photoscape has been one of my favorite FREE programs. It is also one that needs to be downloaded, but offers a wide variety of editing, including fun collages. Here are a couple examples of what you can create.

 If online isn't your thing, stop by your local drugstore. Almost all of them have an easy to use photo kiosk with help nearby.
Advanced photographers may want to invest in editing software. You may need to make a small investment. If you don't currently own any photo editing software, you may be excited to learn that the 2010 reviews are in and adobe photoshop elements (APE) ranked number one. Elements 8 is $99 or less and in my opinion a great bang for your buck. It is user friendly and still offers a wide variety of tools, especially with all the actions and digital images that are available for download these days. APE allows you to manipulate and build your perfect photo using what is known as layers. The results can be just as nice as what CS4 or lightroom can offer.
If you have APE, use actions to enhance images. There are several websites out there that offer FREE actions and textures. "Actions" is just a fancy term thrown around that means many steps are removed to make life easier. Maybe that isn't what it means technically, but that's all you need to know. You WANT actions. Trust me. Here are my favs.
Pioneer Woman
The Coffee Shop
Nelly Nero
The texas chicks blog provides a comprehensive video that details step by step instructions for how to download the actions to your computer. It is the best one I have found to date.
Ashley Sisk is truly one to emulate. She has a wonderful inspiration page in which she offers a very comprehensive list of resources available to like minded photo enthusiasts. It's worth the visit.
It is through her that I learned about Shadowhouse Creations who has oodles of textures available for FREE download. They are sure to transform any photo. This is one of their examples.

You may have noticed that these photos are not as large as what I normally share on my blog. It's because I only used the standard photo uploading tool that blogger offers.
Use tools to make your images larger. There are two things you need to know. One, you need to reformat the margins of your blog to accomodate for this. And two, you need to store your photos at a third party site, such as photobucket or flickr. Sounds easy enough, right?
I found a great tutorial for stretching your margins at Blue Orchid Designs.
And here is another tutorial that I shared last February minus illustrations. It is a perfect example of why photos can be useful on blogs. Blue Orchid Design shares some computer screen frames that really illustrate her point well.
Once you have your margins enlarged on your blog and your photos are stored at a third party host, all you need to do is copy the HTML code into your post. You can decide how large you want them to be.
Utilize video tutorials for help. There are gazillions of videos out there that can shed more light on the subject. Anything from cropping a photo to adding digital elements to designing a template to using textures. You name it. There is a video. I for one am more of a visual learner and always benefit from the videos.
Photoshop Elements actually have their own website chock-full of videos on every subject.
Elizabeth Halford Photography also offers great video tutorials.
These are my favs. But there are infinite amounts available. If you have a topic you aren't sure about just google it and I'm positive you'll find some help. We have a great resource at our fingertips these days 24/7. It's remarkable how much has changed in just a short time. When my kids were born I didn't even own a digital camera. Crazy! Eh?
Before I close I wanted to mention something that I've just started taking an interest in. That being, protecting my family and my photos, aka watermarking.
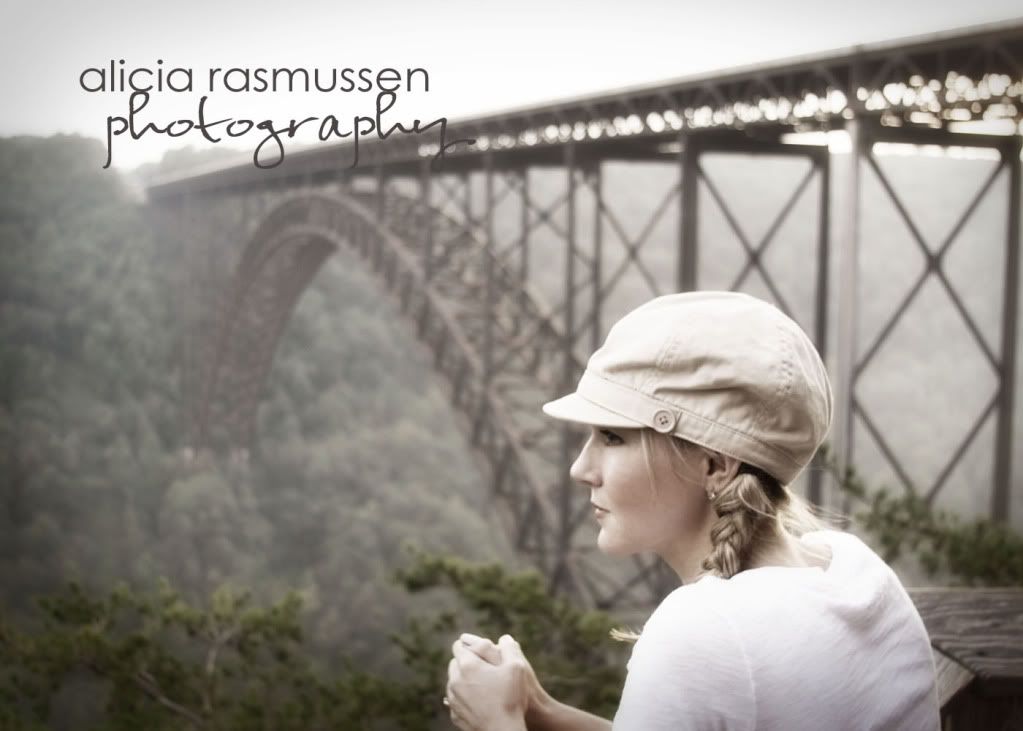
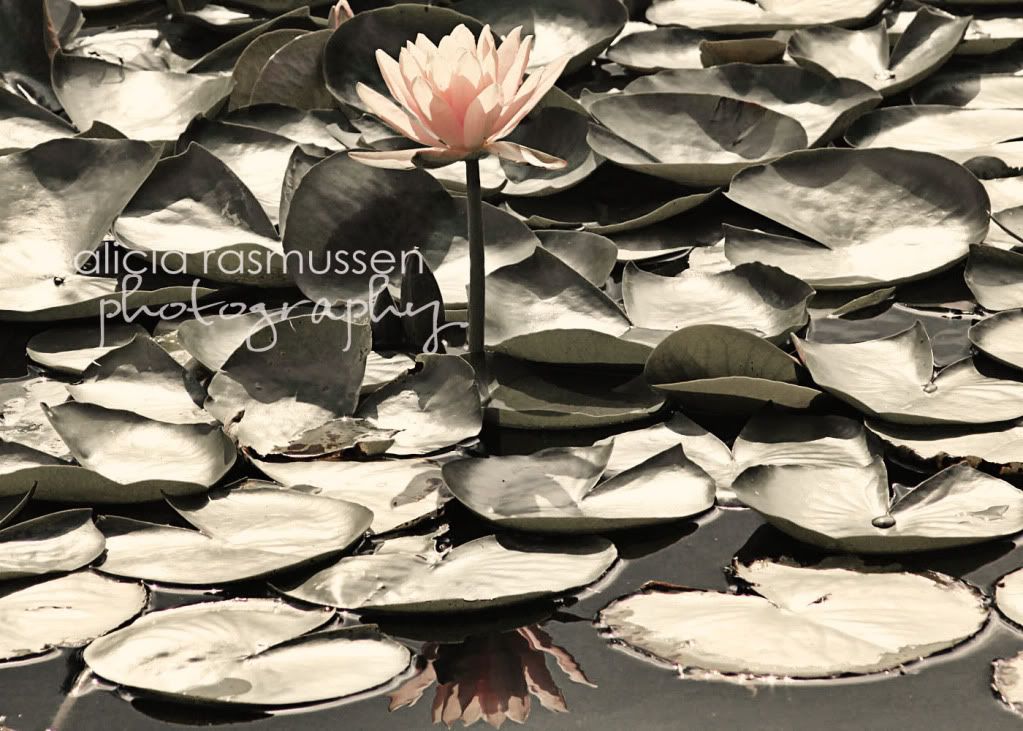
The marking on the photo above is known as a watermark. The lady blogger's society posted a great tutorial of how to watermark your photos in photobucket. You can also do this in picasa or picnik.
I actually just bought a watermarking kit from the coffee shop. There are many kits available for a small price online if you do photos in mass quantity.
Unless you are living in a cave, you are probably aware of all the crazies out there. We need to make sure that we are thinking about the safety of our children. Mama's Losin It shared a scary post a while back about internet safety and our kids. It made my stomach churn. If you share photos of your children try to hide street names or house numbers or any identifying information. I know it's a tough task. But worth the extra effort.
And although I have personally never had my photos stolen, at least that I know of, you need to mark your photos or you are always at risk.
Photography is a HUGE topic. And ever changing. There will always be better, newer equipment and techniques. Jump in. Ya gotta start somewhere.
I challenge you to get your camera out and start snappin. Photos will only enhance your blog, and your life!


I just couldn't imagine even being interested in blogging or reading other blogs without photos! I live by them! Thanks for all the tips - I will have to go back and take my time to learn them all!
ReplyDeleteWow, thanks Alicia! I've always wondered about your photos because they are so beautiful. There are so many great links to check that I am saving them to my favorites. Thanks, chica!
ReplyDeletehey thanks for the tips.. will try them out soon :)
ReplyDeletehave a great weekend!
Thanks for this post! I will definitely be saving it under my favorites and referring to it many more times. I just read the post about internet safety, and it was so scary!
ReplyDeleteI love this post. So many helpful tips and tricks and awesome resources. However, I think I'm just going to send my RAW photos to you for editing. You don't mind, right? I have a couple hundred just dying to be edited at the moment. ;)
ReplyDeleteLoved this then, love it now.
ReplyDeleteAlthough I could never rival you.
Wow, thanks for all of this information!
ReplyDeleteI have been looking for a free photo editing tool to blur just two edges of a photograph. I'm off to check out the list you linked, but I'll look at Photoscape first.
Thanks again!
Thanks for this Lish. I bookmarked this page, and will be including it in my Saturday favs. I was just thinking that maybe I should get Photoshop, but I am gonna check out the free sites first.
ReplyDeleteThanks SO MUCH for reposting this - I knew you had written it as a guest post but I couldn't remember where it was! So chock-full of information!
ReplyDeleteSo informative! Thanks so much for posting this!
ReplyDeleteGreat post. :D Thanks for sharing.
ReplyDeleteThanks so much for all of the info! Now I am off the check out the links you provided.
ReplyDeleteJoy & Blessings,
Alida
Excellent post! Thank you!
ReplyDeleteIm now a follower!
ReplyDeleteGreat pics!
:]
http://photoholic07.blogspot.com/
licia, those were some awesome tips! I´ve been working with Photo Impact for the last 4 years, but for my blog, I´m usually to lazy to edit my pics. Sigh.
ReplyDeleteThose textures from Shodowhouse Creations are beautifull, just beautifull! I´m so looking forward to using them!
Great tips! I featured this on my blog too today - I link up great tutorials and today I posted about blogging & photography! Thanks and well done.
ReplyDeleteFabulous article!
ReplyDeletewow Alicia! Just found this post and its chocked full of great info!!! exactly what i'm looking for right now!! thanks!
ReplyDeleteVery nice article....I like it...
ReplyDeletephotography tips